In this post we will start to learn about JUnit Framework. JUnit is a framework for unit testing Java applications. It was developed by Kent Back and Erich Gamma to help developers to create a better applications. JUnit has become the standard tool used by developers when it comes to unit testing.
Every day, when you create an application from the smallest one, that consist of a single class to a project of a large application, your development workflow will always be the same. You will begin by writing a small code, compile it, run the code and finally test it. And you will mostly find that things doesn’t work as expected at first. So you’ll go back to your favorite IDE, check what the error was, and you will repeat the process, code, compile, run and test, until you get the result that you want.
We can do this steps manually. For example when you have a console application you will typically run the code, check the result printed out on the console screen to find out if the program return the correct result. When you find the error you will fix it and re-run the code again and again. This kind of test seems like a time-consuming activity, tiresome and even make you bored. And instead of testing the code you are testing your ability to test. Because you have to check whether the output printed in the console is correct or not.
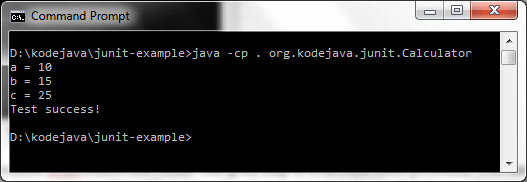
Here is a simple example of a very simple calculator that know how to add two numbers and how you are testing it using a simple main class in a console application.
package org.kodejava.junit;

public class Calculator {
    public static int add(int a, int b) {
        return a + b;
    }

    public static void main(String[] args) {
        int a = 10;
        int b = 15;
        int c = Calculator.add(a, b);

        System.out.println("a = " + a);
        System.out.println("b = " + b);
        System.out.println("c = " + c);

        if (c == 25) {
            System.out.println("Test success!");
        } else {
            System.out.println("Test failed!");
        }
    }
}
Testing your ability to test.
To make life easier JUnit framework comes with great help to overcome these problems. You can tell JUnit framework to test your code by creating a unit tests. You will create a class that test your code, you’ll define your testing criteria in this unit testing class. You can execute these unit testing, and it will report whether the tests pass or fail. And you can run it as many times as you’ll like to see if the test still pass after you modified parts of your code.
Now, let see how JUnit can help us to test the previous calculator code. Before creating the unit test class we need to download the JUnit library from the website at JUnit, follow the link to download page and download the jars. There are two main jar files that you need to download, the junit.jar and hamcrest-core.jar. When you are using and IDE, the JUnit usually installed as part of the IDE such as NetBeans, Eclipse or IntelliJ IDEA.
Let’s write the unit testing code.
package org.kodejava.junit;

import org.junit.Test;
import static org.junit.Assert.*;

public class CalculatorTest {
    @Test
    public void addTwoNumbersTest() {
        int a = 10;
        int b = 15;
        assertEquals(25, Calculator.add(a, b));
    }
}
From this code snippet what you can see is:
- We create a class called
CalculatorTest. We usually name the unit test class with the same name with the class under test but suffix it with Test. - We create a test method called
addTwoNumberTest(). You can name your test method as descriptive as possible. This will have you understand what the method is trying to test. - To make a method a unit test method we add the
@Testannotation to it. This annotation will tell the JUnit framework that the annotated method is a part of the unit testing it should execute on our behalf. - In the test method body we use the
assertEquals()method to check the test result. In this case we expect 25 is returned when theCalculaor.add()method add two numbers, thea + b.
After you create the unit testing class, let’s compile it and this JUnit test from the command prompt. Remember to have also the class under test, which is the Calculator class beside your unit testing class. To execute JUnit test you can type the following command.
java -cp .;junit-4.13.2.jar org.junit.runner.JUnitCore org.kodejava.junit.CalculatorTest
I am intentionally place the junit.jar file in the root of my work directory so that I can make the -cp option short. The classpath options tell Java where to look the required class files.
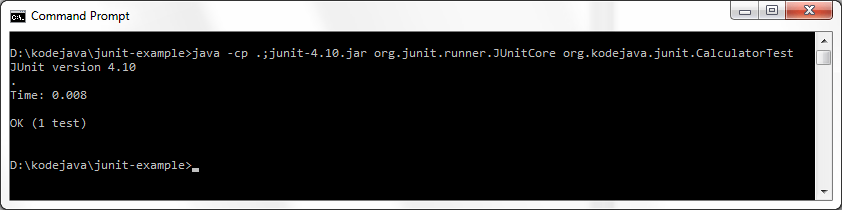
Executing JUnit Test
That is all for the bit of introduction to JUnit. In the coming post I will write more about JUnit and how to use other available annotation, so you can write a better test.