Summary: This tutorial is about Java Development Kit (JDK) Standard Edition installation guide. After reading and executing this tutorial you will be able to install the JDK and setting the basic configuration for running the Java compiler from the command line. You will also learn how to create, compile and run a simple Hello World program written in Java.
Download The JDK
When this tutorial is written, the latest JDK is version 7 Update 45. To download the Java SE Development Kit 7 (JDK 7) click to following URL: Java SE Downloads. Make sure you choose the Windows version and download the JDK and not the JRE. The JDK installer will have the JRE included.
Installing The JDK
After downloading you will have a file called jdk-7u45-windows-i586.exe. Executing this file, either by double-click the file or running it from the command prompt, will begin the installation process. You will see the following screens during the installation process:

Installation Wizard Welcome Screen
To continue the installation click the Next button shown in the screen above. This action will bring you to the feature’s selection screen in the installation wizard shown below.
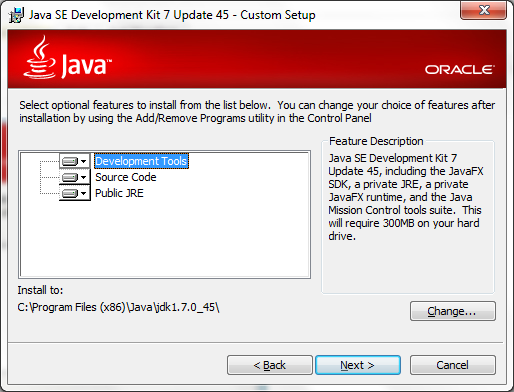
Features Selection
In the feature’s selection screen above you will be able to choose which features to install. For the simplicity of this tutorial we will choose to install the entire features. We will also use the default installation path. In Windows operating system the default path is C:\Program Files (x86)\Java\jdk1.7.0_45. Click the Next button to continue to the next step.
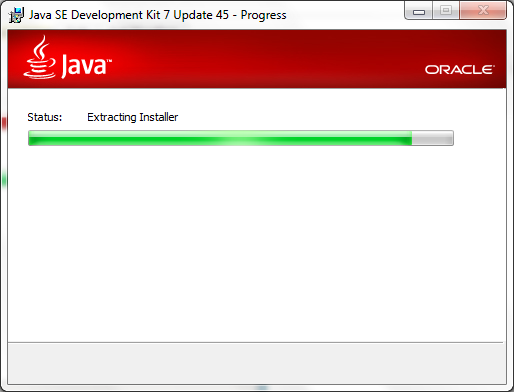
Installation Progress
The screen above shows the progress status of the JDK installation. Depending on your computer speed this process may take a couple of minutes to finish. Wait for the next screen to show up.
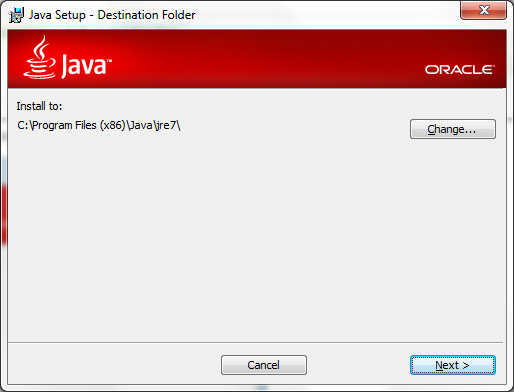
JRE Installation Screen
As stated above that the JRE is included within the JDK installer, the screen above show you the JRE installation wizard. We will use the default path as shown above C:\Program Files (x86)\Java\jre7. Click the Next button to continue to the next step.
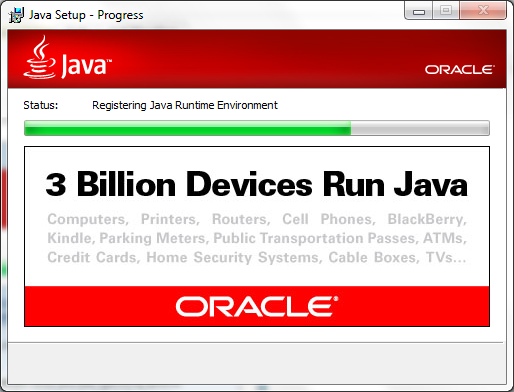
JRE Installation Progress
The screen above shows the status of the JRE installation. Depending on your computer speed this process may take some other minutes to complete. When the JRE installation complete you will see the next screen.
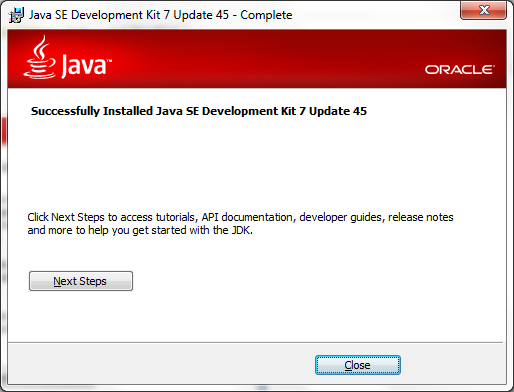
JDK Installation Completed
Seeing the screen above means that your JDK installation is completed. Click the Finish button to exit the installation Wizard.
Configuring The JDK
Now you have the JDK installed on your system. Configuring the JDK so that you can run the javac and java commands from the command prompt is another important steps. A lot of beginners faced with a problem that the javac command is not recognized because they did not configure the path correctly. To validate your installation type the javac command in the command prompt. At first, you will see the following screen as the command output.
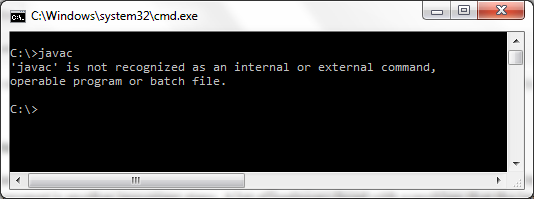
javac command is not recognized
To make the javac command run properly you need to update the PATH environment variable to include the Java binary installation path. The following steps will show you how to configure the PATH environment variable.
- Open your Windows Explorer, you can use the
Windows + E shortcut.
- Right click on Computer icon and choose the Properties menu.
- Click Advanced system setting from the Task list.
- In the System Properties window choose the Advanced tab.
- Click the Environment Variables button.
- In the Environment Variables windows you will see two sections. User variables and System variables.
- Find the Path variable and click the Edit button.
- In the Edit User Variable screen, update the current variable value by adding the path to JDK bin folder, in our case the path will be
C:\Program Files (x86)\Java\jdk1.7.0_45\bin;. You should add this information at the beginning at the beginning to make sure it will be picked first.
- Press the OK button to update the User Variable.
- Press the OK button to finish the Environment Variables setting.
- Press the OK button on the System Properties window to close it.
Now you can open a new command prompt window and type the javac command. You will see that the javac command is now run as expected. You can type javac -version to check the version of your JDK.
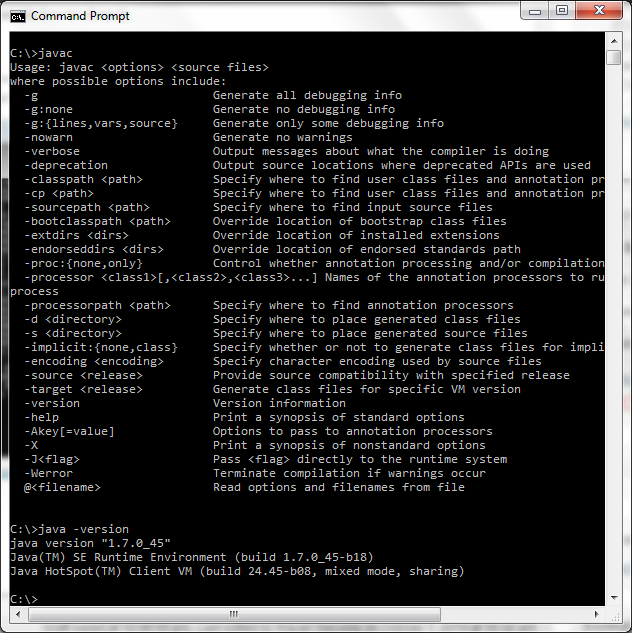
Java Command Recognized
Creating The HelloWorld.java
Now you have the JDK installed and configured properly. Let’s now create our first Java program, the famous Hello World program. Let’s begin.
- Open a command prompt window.
- Create a directory
C:\HelloWorld\src.
- Go to the src directory and create another directory call program.
- Go to the program directory.
- Create the
HelloWorld.java source file by typing notepad.exe HelloWorld.java.
- The Notepad program will show a dialog saying that the
HelloWorld.java file is not found.
- Press the Yes button for creating the file.
- Type the following code in the Notepad editor.
package program;

public class HelloWorld {
   public static void main(String[] args) {
       System.out.println("Hello World");
   }
}
- Click the Save menu to save your program.
- Click the Exit menu to exit from the Notepad program.
- Type the dir command, and you will see that you have created a file called
HelloWorld.java.
Compiling Java Source File
Up to this step you have created your first Java program. Before running the program you need to compile it. The compilation process compiles your Java source file into something called the Java bytecode. The bytecode is an intermediate language that makes the Java program portable across different platform.
To compile the program do the following step:
- Go to the
C:\HelloWorld\src\program directory.
- Type
javac HelloWorld.java to compile the source code.
- A successful compilation will produce a
HelloWorld.class file. This class file is your binary HelloWorld program, and it is ready to be executed.
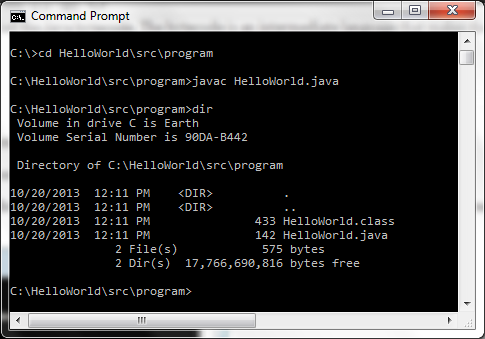
Compiling Hello World
Running the Program
Now you are in the final step of the tutorial. Running the HelloWorld program. Here are the final step you need to run:
- Go to the
C:\HelloWorld\src directory.
- Type java program.HelloWorld without the .class extension to run the program.
- You will see that the Hello World string printed on the screen.
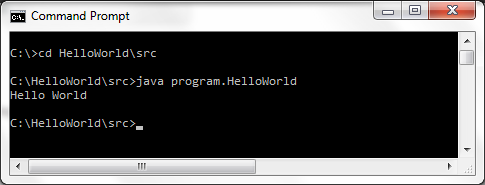
Running Hello World
That’s all for now, see you on another tutorial.